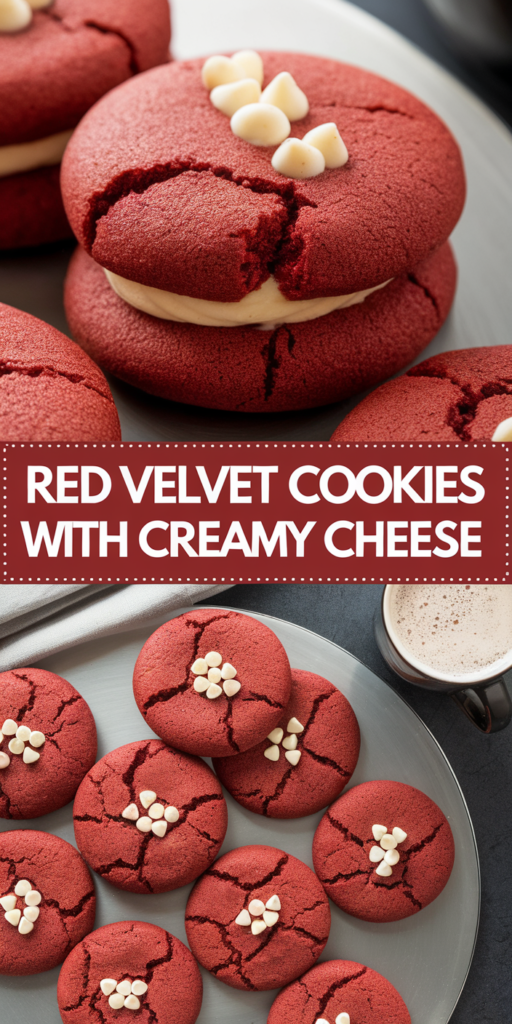
There’s something magical about colors and flavors that remind us of sweet memories. I remember walking into a bakery and seeing the red velvet cream cheese cookies. The red and white looked amazing together.
It was like a cookie love story. I knew I had to make these cookies myself. Today, I can share my recipe for these amazing cookies. They look great and taste even better!
This guide will help you make these cookies at home. They’re perfect for holidays or just when you want something sweet.
Introduction to Red Velvet Cookies
Red velvet cookies are a fun twist on the classic red velvet cake. They mix cocoa and buttermilk into a chewy cookie. The cookies’ bright red color is eye-catching and hints at the tasty journey you’re about to take.
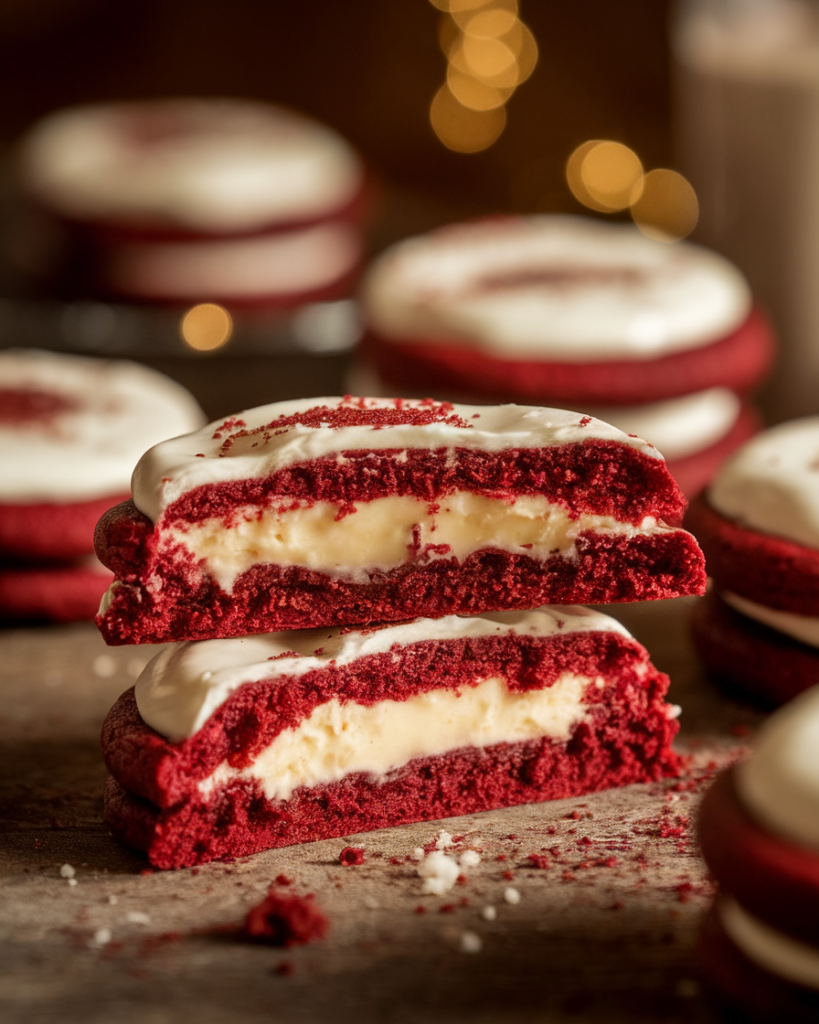
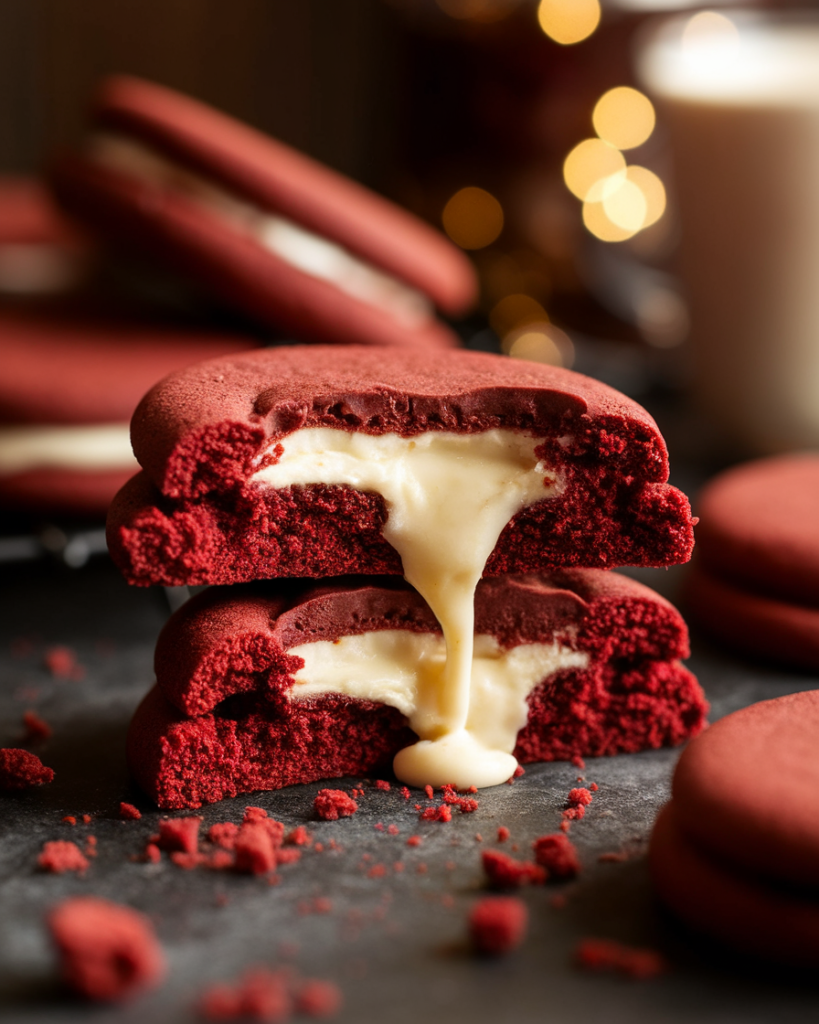
Inside each cookie, you’ll find a rich cream cheese filling. This adds a sweet touch, balancing out the flavors. It makes for a delightful dessert experience.
Red velvet cookies have become very popular. They’re perfect for cookie exchanges, holiday parties, or just when you want something sweet. If you’re looking for new cookie recipes, these are a great choice.
These cookies make about 12 treats and are ready in 20 minutes. They need 10 minutes in the oven and at least 30 minutes to chill. This ensures they turn out just right.
Whether you eat them warm or after chilling in the fridge, they’re sure to wow. Red velvet cookies are a hit with anyone who tries them.
| Detail | Specification |
|---|---|
| Total Prep Time | 20 minutes |
| Total Cook Time | 10 minutes |
| Chill Time | 30 minutes |
| Total Time | 1 hour |
| Yield | 12 cookies |
| Calories per Cookie | 573 kcal |
Ingredients for Red Velvet Cream Cheese Stuffed Cookies
To make these tasty cookies, you’ll need some ingredients. They will make about 16 yummy cookies.
For the Cookie Dough:
- 1 and 3/4 cups all-purpose flour
- 1/3 cup unsweetened Dutch processed cocoa powder
- 1 teaspoon baking powder
- 1/4 teaspoon baking soda
- 1/2 teaspoon salt
- 1/2 cup unsalted butter, softened
- 1/2 cup granulated sugar
- 1/2 cup light brown sugar
- 1 large egg + 1 egg yolk
- 2 tablespoons buttermilk
- 2 teaspoons vanilla extract
- 2 tablespoons red food coloring
For the Cream Cheese Filling:
- 8 ounces cream cheese, softened
- 1/4 cup unsalted butter, softened
- 1 cup powdered sugar
- 1/2 teaspoon vanilla extract
- 2 tablespoons all-purpose flour
You might also need extra sugar for rolling the cookies. Using top-quality ingredients makes the cookies taste better and feel softer.

Step-by-Step Guide to Making Red Velvet Cookies
Making red velvet cookies is fun and easy. You need to pay attention to every step. This guide will help you make delicious cookies with a yummy cream cheese filling.
Preparing the Red Velvet Cookie Dough
First, mix flour, cocoa powder, baking soda, and salt in a bowl. Then, cream butter, sugar, and brown sugar until fluffy. Add an egg, milk, and vanilla, mixing well.
Slowly add the dry ingredients to the wet ones. Add red food coloring to get the right color. Chill the dough for 1.5 hours to get the perfect texture.
Making the Cream Cheese Filling
While the dough chills, make the cream cheese filling. Mix cream cheese, sugar, flour, and vanilla until smooth. Scoop small amounts onto parchment paper and freeze for 1.5 hours.
| Ingredient | Amount |
|---|---|
| Unsalted Butter | 3/4 cup (170g) |
| Granulated Sugar | 1 cup (200g) |
| Dark Brown Sugar | 1 cup (220g) |
| Flour | 2 3/4 cups (385g) |
| Cocoa Powder | 1/4 cup (25g) |
| Cream Cheese | 4 ounces (115g) |
| Red Food Coloring | 1 tablespoon |
| Baking Soda | 1 teaspoon |
| Kosher Salt | 1 teaspoon |
| Vanilla Extract | 2 teaspoons |
| Eggs | 1 large egg, 1 egg yolk |
Chilling and Assembling the Cookies
After chilling the dough for at least 1 and 1/2 hours, I start assembling cookies. I take out tablespoon-sized pieces of dough. Each piece is easy to handle.
I make a small hole in each ball. Then, I put a frozen cream cheese filling ball in the hole. This makes sure the filling is in the middle.
Next, I wrap the dough around the filling. This seals the cookie and makes it stuffed.
Rolling the cookies in sugar adds sweetness. I put them on a baking sheet, leaving space between them. This lets them spread while baking.
Thinking about the flavors makes me excited. I imagine how good they will taste after baking.
Here’s a quick guide on the chilling and assembling times:
| Process | Recommended Time |
|---|---|
| Chilling the cookie dough | At least 1 and 1/2 hours |
| Chilling cream cheese filling | At least 1 and 1/2 hours |
| Assembling stuffed cookies | Approx. 30 minutes |
Baking Tips for Perfect Cookies
Small details are big in baking. I’ve got some top tips to help you avoid mistakes. These tips will make your red velvet cream cheese stuffed cookies delicious.
How to Avoid Common Baking Mistakes
To get perfect cookies every time, follow these tips:
- Preheat your oven: Set your oven to 350°F before baking. This ensures cookies bake evenly.
- Keep track of baking times: Bake for 12-15 minutes. This makes them soft and chewy.
- Manage dough consistency: If dough is too sticky, chill it for 30 minutes. It will be easier to handle.
- Cold filling is key: Chill your cream cheese filling before adding it. This stops it from melting.
- Watch your cookie size: Use about 1 tablespoon of dough for each cookie. This keeps sizes and baking times the same.
Follow these tips to make better cookies and avoid mistakes. With practice, you’ll bake amazing red velvet cream cheese stuffed cookies. Everyone will love them.
Storing Your Cookies for Freshness
To keep my Red Velvet Cream Cheese Stuffed Cookies fresh, I store them in an airtight container. This keeps them soft and tasty. At room temperature, they stay fresh for about 4 days.
If I want them to last longer, I refrigerate them. This way, they can stay fresh for up to a week.
These cookies are also great for freezing. I can freeze them for up to three months. To thaw, I just leave them in the fridge overnight or at room temperature for a few hours.
Variations on Red Velvet Cream Cheese Stuffed Cookies
Red velvet cream cheese stuffed cookies are already a treat. But, you can make them even better. Adding a white chocolate drizzle is a great way to do this. It makes the cookies taste amazing and look beautiful too.
Adding White Chocolate Drizzle
To add the white chocolate drizzle, melt high-quality white chocolate slowly. This keeps it smooth. Then, use a piping bag or a fork to drizzle it over the cookies once they’re cool.
This step makes the cookies look and taste even better. The mix of red velvet and white chocolate is perfect. It makes these cookies a hit at any event.
Serving Suggestions for Your Cookies
These red velvet cream cheese stuffed cookies are great for any party. Show them off on festive platters at holiday gatherings. Or, serve them as treats at parties. They go well with coffee or milk, making dessert cozy.
For a special touch, give these cookies in decorative boxes. This makes serving cookies at the holidays even more fun. It’s a thoughtful way to share joy and treats with friends, family, or coworkers.
| Serving Suggestion | Details |
|---|---|
| Festive Platters | Ideal for holiday gatherings, showing off colors. |
| Party Treats | Great for celebrations, perfect for sharing. |
| Cozy Dessert | Enjoy with coffee or milk for a warm treat. |
| Gift Boxes | Give in decorative boxes for holiday gifts. |
With these ideas, you’ll wow your guests and make memories with these cookies. Enjoy sharing these treats as much as making them!
Why You’ll Love Red Velvet Cream Cheese Stuffed Cookies
If you love cookies, you’ll adore these Red Velvet Cream Cheese Stuffed Cookies. They mix rich cocoa with tangy cream cheese. This mix is a taste dream.
Every bite is chewy and full of flavor. It’s a treat that’s hard to resist.
These cookies look amazing too. Their bright red and creamy filling are a feast for the eyes. They’re perfect for any celebration or just because.
You can make them even more special. Try adding white chocolate or dried fruit. They’re a hit with everyone, showing off your baking skills.
Once you try them, you’ll see why they’re a must-bake. They’re a favorite in my kitchen and will be in yours too!