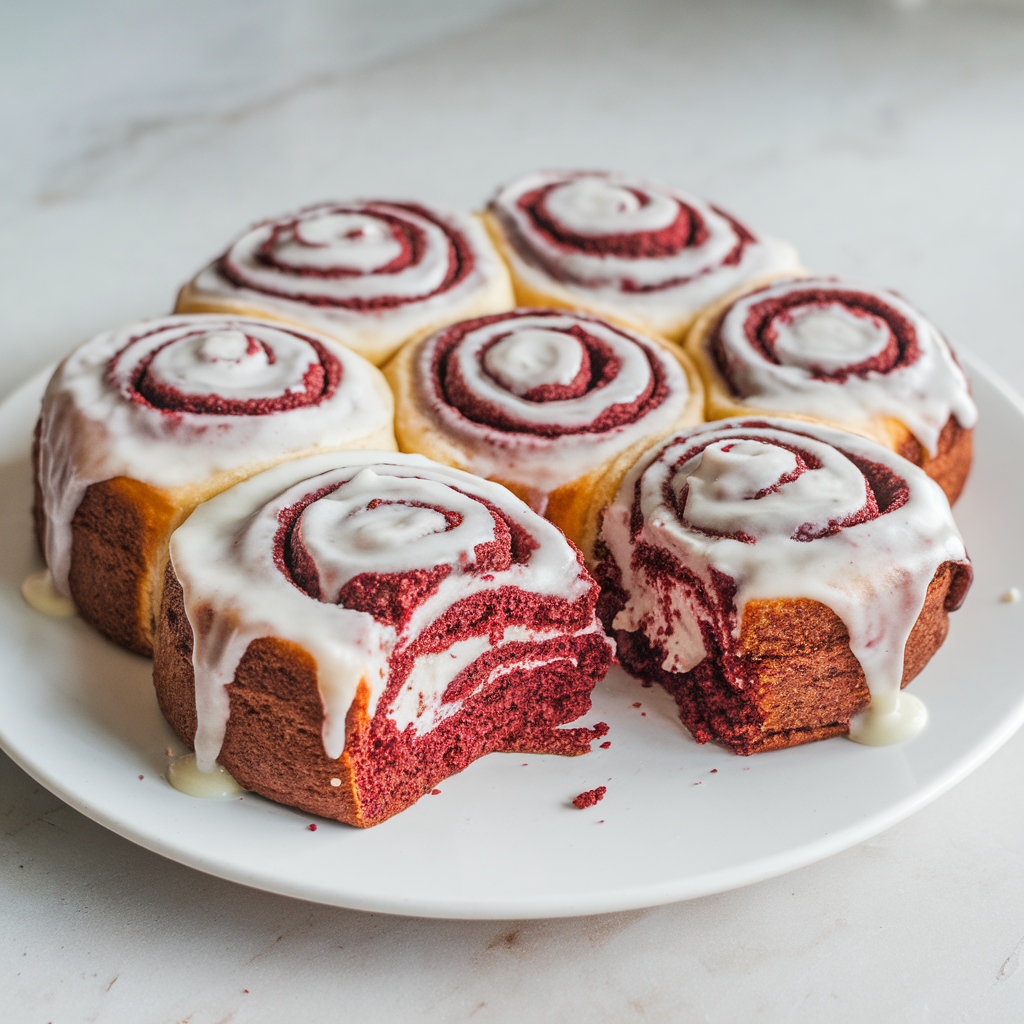
Okay, picture this: cinnamon rolls and red velvet cake had a love child. That’s right, we’re making Red Velvet Cinnamon Rolls today. Soft, gooey, and draped in cream cheese frosting so thick you could eat it with a spoon (no judgment if you do). If you’re into recipes that look like you spent hours in the kitchen but actually didn’t—this is your new go-to.
Why This Recipe is Awesome
First off, it’s fancy without being fussy. These rolls look bakery-level gorgeous but are secretly easy. Honestly, it’s almost unfair how much praise you’ll get when people see them.
Second, it’s basically dessert disguised as breakfast. You can roll out of bed (pun 100% intended), bake these babies, and feel like you’re on a cooking show.
And third, this Red Velvet Cinnamon Rolls Recipe is idiot-proof. If I didn’t screw it up, you won’t either. Trust me, I’ve burned toast more times than I care to admit.
Ingredients You’ll Need
Here’s the shopping list—aka your ticket to happiness:
- 3 ½ cups all-purpose flour (aka the powder that makes everything fluffy)
- 1 packet active dry yeast (the magic lifter)
- ¾ cup warm milk (not hot, unless you enjoy killing yeast)
- ¼ cup sugar (because life’s better sweet)
- 1 egg + 1 egg yolk (double trouble)
- ⅓ cup unsalted butter, melted (flavor liquid gold)
- 2 tbsp cocoa powder (the “red” in red velvet needs a buddy)
- Red food coloring (don’t skimp, unless you’re into “slightly pink velvet”)
- ½ tsp salt (balances the sweet, promise)
For the filling:
- ½ cup unsalted butter, softened
- ¾ cup brown sugar (hello, caramel vibes)
- 2 tbsp cinnamon (obviously)
- 2 tbsp cocoa powder (yes, more chocolate never hurts)
For the frosting:
- 4 oz cream cheese, softened
- 2 cups powdered sugar
- 2 tbsp butter, softened
- 1 tsp vanilla extract
Step-by-Step Instructions
- Wake up your yeast. Mix warm milk, sugar, and yeast in a bowl. Wait 5–10 minutes until it’s frothy. If it looks like swamp water, toss it and start over.
- Mix the dough. Add flour, cocoa powder, egg, egg yolk, butter, food coloring, and salt. Knead for about 8–10 minutes until smooth. Yes, your arms will get a workout—bonus points for skipping the gym.
- Let it rise. Place dough in a greased bowl, cover with a towel, and let it nap for 1–2 hours. It should double in size. If it doesn’t, your yeast probably died a tragic death.
- Roll it out. Once risen, flatten the dough into a rectangle (roughly 14×9 inches). Pretend you’re an artist with edible canvas.
- Make it sinful. Spread softened butter over the dough, then sprinkle brown sugar, cinnamon, and cocoa powder evenly. The more filling, the better. Don’t be stingy.
- Roll and cut. Roll the rectangle tightly into a log. Slice into about 9–12 rolls (use dental floss if you want those perfect cuts).
- Second rise. Place rolls in a greased baking dish. Cover and let them puff up again for 30–45 minutes. They should look like squishy pillows.
- Bake time. Pop them in a preheated oven at 350°F (175°C) for 20–25 minutes. Your kitchen will smell like heaven.
- Frost ‘em. Whip cream cheese, powdered sugar, butter, and vanilla. Slather generously over warm rolls. Don’t even think about skimping.
Common Mistakes to Avoid
- Forgetting to preheat the oven. Rookie move—your rolls will bake unevenly.
- Overbaking. Dry rolls are a crime. Pull them out when the tops are slightly golden.
- Skimping on filling. This isn’t diet food. Load it up.
- Not letting the dough rise. Patience, grasshopper. Flat rolls = sad rolls.
Alternatives & Substitutions
- Food coloring: Don’t have red? Go wild—make blue velvet or green velvet. Just don’t call it “Shrek rolls.”
- Frosting: Hate cream cheese? (Who even are you?) Sub in vanilla glaze or plain buttercream.
- Flour: Gluten-free flour works, though texture may vary. Basically, don’t blame me if it turns into a science experiment.
- Sugar: Coconut sugar or honey can work, but flavor will shift. IMO, brown sugar is king.
FAQ (Frequently Asked Questions)
1. Can I make these ahead of time?
Yep. Assemble the rolls, cover tightly, and refrigerate overnight. Bake fresh in the morning while you’re still half-asleep.
2. Can I freeze them?
Absolutely. Bake first, then freeze. Reheat in the oven when cravings strike.
3. Do I really need cream cheese frosting?
Yes. This isn’t optional—it’s destiny.
4. Can I make mini rolls?
Go for it! Just reduce baking time by a few minutes. They’ll be adorable (and dangerously easy to eat 12 at once).
5. Can I use margarine instead of butter?
Technically yes, but why hurt your soul like that?
6. How red should the dough be?
Bright red. If it looks like pale pink Play-Doh, add more coloring.
7. Do I need a stand mixer?
Nope. Your hands work fine. Think of it as stress relief therapy.
Final Thoughts
So there you have it—the ultimate Red Velvet Cinnamon Rolls Recipe that’s equal parts easy, indulgent, and just plain fun. Honestly, once you taste these, you’ll wonder why you ever bothered with boring cinnamon rolls.
Now go impress your friends, your family, or just yourself (because self-love is real, people). And remember: messy frosting is not a mistake—it’s a vibe.
P.S. Don’t forget this is the kind of recipe you’ll want to bookmark. Trust me, your future self will thank you when that sweet tooth hits again.